
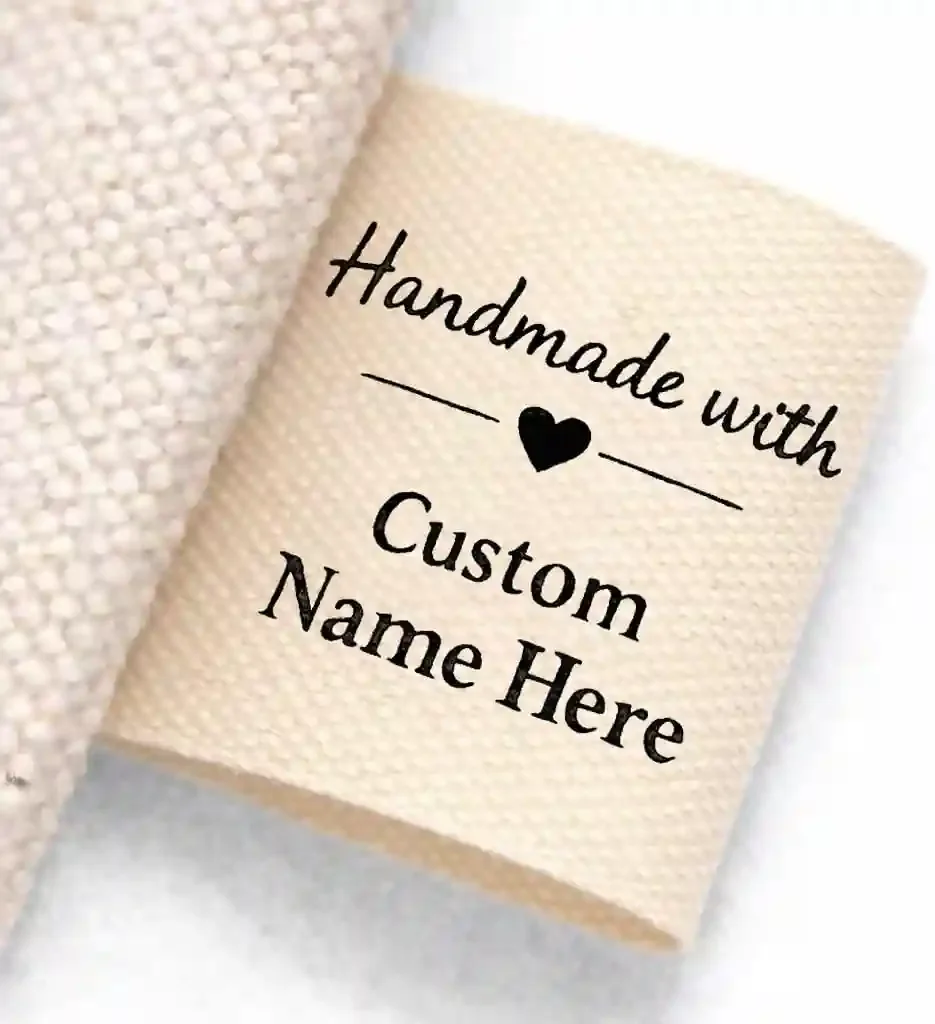
Choosing woven label fold types starts with the finished item. Sketch the label where it will be attached, then add the open dimensions, finished shape, fold positions and sewing area. Put the artwork inside that outline. With these details beside the fold name, you have a clear starting point for a sample request.
Where will the label go on the garment or bag? Decide which part someone should see and how you want it attached. An edge entering a seam and a label sewn onto a surface each need an attachment sketch. Settle that part of the brief before approving the artwork.
Choose the attachment arrangement first
Wubao’s custom fabric label range lists Straight Cut, Folded, Mitred, Book Fold and Loop Fold. Write the option you want to discuss beside your construction sketch.
For a flat surface label, draw the outline and mark the edges you want sewn. Use this view to discuss Straight Cut and the preparation of those edges. If you want turned ends, extend the open view beyond the visible artwork and mark the folds there.
Planning to fold the label back on itself? Draw both faces and identify the edge entering the seam before discussing Book Fold or Loop Fold. For angled folds, sketch the angles and attachment arrangement, using Mitred as the inquiry term. Ask the supplier to identify the construction represented by that view.
Try a paper mock-up while deciding which face carries the logo and which way it reads. It can help explain the idea to your team. Keep the physical label sample for reviewing the proposed construction on the actual product.
Keep open size and finished size on the same sheet
Give the open label an overall length and width. Beside it, draw the finished view with the visible dimensions you need. Label the measurement points and the unit. Each dimension needs an obvious start and end.
Take turned ends as an example. The overall open length includes the areas you propose to fold. The distance between the fold lines describes the visible layout between them. Label both measurements so a lone dimension beside the logo leaves nothing to interpretation.
| Drawing item | Information to include |
|---|---|
| Open outline | Overall length, width, unit and measurement endpoints |
| Fold marks | Position and direction of each intended fold |
| Finished view | Required visible dimensions and reading direction |
| Attachment | Edge inserted into the seam or proposed surface stitch path |
| Artwork | Visible design area and space reserved for sewing |
| Identification | Design reference, drawing revision and sample reference |
Pass the sheet to whoever will sew the label. Bring their dimensional comments back to the artwork review before requesting a sample.
Reserve the sewing area before positioning the logo
Who decides the space needed for attachment? Involve the sewing team. Give them a view of the label in its seam or on the intended surface, and ask them to mark the insertion area, stitch path and allowance dimensions for review.
For example, consider an inside-bag label whose upper edge will enter a lining seam. Sketch the lining, label edge and visible face together. Use this illustrative planning exercise to position the logo in relation to the proposed assembly.
Seam construction distinguishes attaching a separate component from wrapping binding around a material edge. Describe the arrangement intended for your label. Seam construction reference
For a surface-sewn label, put the proposed stitch path over a copy of the artwork. Look at the space around important lettering and include any turned ends in the view. Agree the allowance dimensions for this design with the sewing team.
Read the artwork as the customer will encounter it
Look at the design in its proposed product position. For a bag interior, consider the view when the bag opens. For an edge label, look at the faces visible from each side of the item. Choose the orientation your design needs and mark the front-facing view.
Add a folded view with the text in place. For reverse-side artwork, identify that face separately on the sheet. This makes the intended reading direction part of the artwork review, even when the designer is working from an open rectangle.
For a collection, give each design a reference and list the quantity against it. Keep colour variations identifiable in the same assortment list. When discussing the woven and printed label options, send the files associated with those references so the supplier can review the intended versions.
Include processing and the sample stage in the brief
Decide what your approval needs to cover. A loose label review lets you discuss the label itself. If placement and sewing are part of the decision, request an attachment sample using the intended fabric and seam arrangement.
For post-dyed garments, discuss label attachment timing and checks of critical dimensions before and after wet processing. Include that sequence in the brief. Post-dye garment process guidance
Describe any relevant finishing process to the supplier. Which sample stage will your approval cover? Agree what needs reviewing at that stage, along with any evaluation and acceptance criteria required for your order.
Make the sample review specific enough to act on
Lay out the sample with the current drawing and artwork. Work from its open dimensions to the folds and finished outline. Then review the attached label, paying attention to the visible design, reading direction and sewing area.
Separate an observation from the change you want. “The text is close to this fold” identifies a point to discuss. Add a marked photograph or drawing to explain where you would like it moved. The supplier then has a position to review alongside your comment.
Record what is accepted and what needs another look. If the drawing changes, identify the revision represented by the next sample. Keep the approved drawing and sample reference together for the order.
Bring the discussion together in one inquiry
In the first message, lead with the application, quantity by design and the decision you need next. Attach the artwork with the open and finished views. Add the destination country or a timing requirement if either helps explain the request.
A useful outline for your own message is “Please review the attached label drawing and artwork. The sketch shows our intended fold, visible size and attachment. We would like to confirm the construction and discuss a sample for the application shown. Please identify any details that need agreement before sampling.” Complete it with your design references, quantities and contact information.
To start that conversation, send your label artwork and folding requirements to Wubao. Keep the sketch and artwork together so the requested sample can be discussed against one clear brief.